Blog
How to Use Curved Rulers in Pattern Making
By Metro Rulers
Pattern making is an essential skill in the world of fashion design and garment production. It involves creating templates or patterns that serve as the blueprint for crafting various clothing pieces. While straight rulers are commonly used for drawing straight lines and angles, curved rulers are indispensable tools when it comes to creating curves, arcs, and contours in pattern making. In this blog post, we will explore the versatility and utility of curved rulers, and provide you with a step-by-step guide on how to effectively use them in your pattern making endeavors.
Why Curved Rulers?
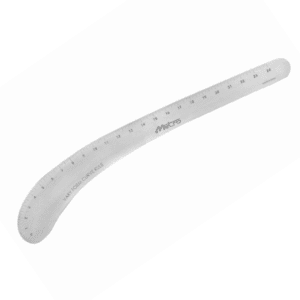
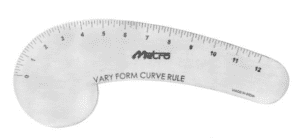
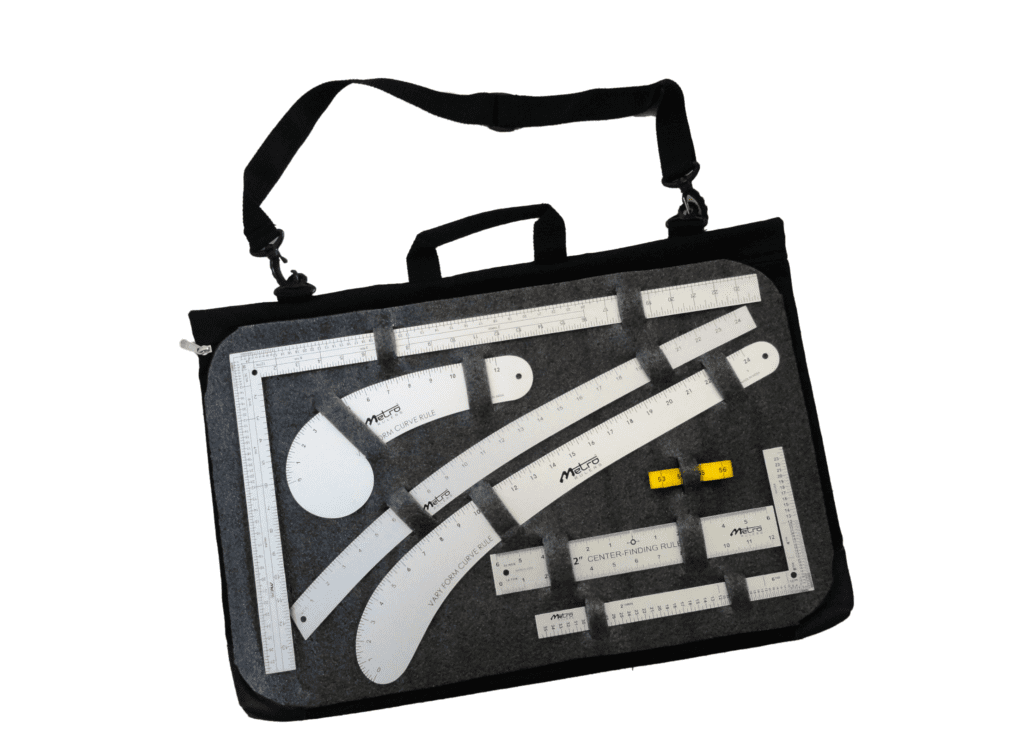
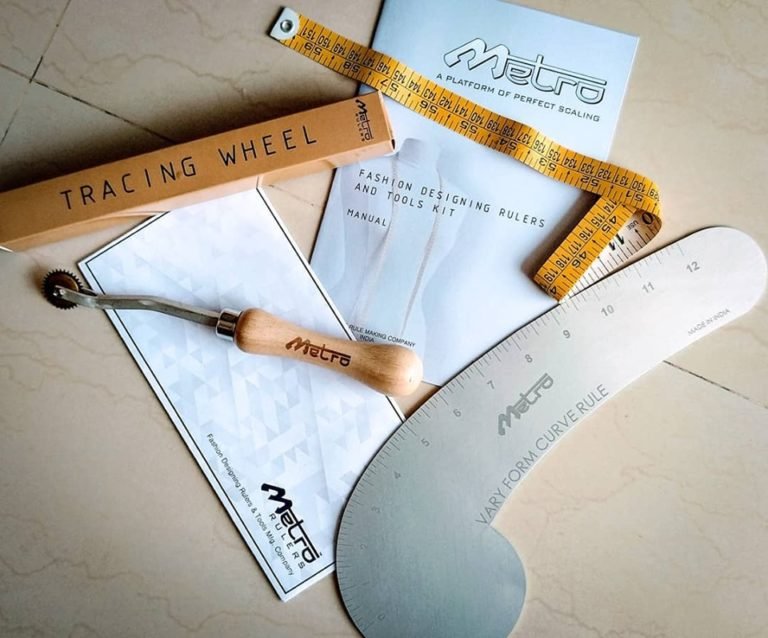
Curved rulers, also known as French curves or fashion curves, are designed specifically for drawing and replicating curves of various shapes and sizes. They come in a range of shapes and sizes, each catering to different types of curves found in garment construction. These rulers are made of transparent plastic or metal, allowing for easy tracing and accurate measurements. By incorporating curved rulers into your pattern making toolkit, you can achieve precision and consistency in creating curves, resulting in well-fitted and visually appealing garments.
Curved rulers can be used for both pattern drafting and fitting adjustments over the curvy parts of our bodies. But if you’ve never used one before they can be a bit alarming.
Types of Curved Rulers:
French Curve Ruler: This is the most commonly used curved ruler in pattern making. It features a combination of gentle curves, arcs, and straight edges. It is perfect for creating armholes, necklines, and sleeve caps.
Hip Curve Ruler: As the name suggests, this ruler is ideal for drawing smooth curves around the hips and waistline. It helps in creating flattering silhouettes and accurate darts.
Cuff Curve Ruler: This ruler is specifically designed for drawing curves around cuffs, collars, and other small areas that require precise shaping.
Designers’ Curve Ruler: This ruler offers a variety of curves and shapes, making it suitable for creating intricate designs and unique patterns.


Using Curved Rulers in Pattern Making:
Step 1: Understand the Design:
Before you begin using a curved ruler, it is essential to have a clear understanding of the design you wish to create. Familiarize yourself with the garment’s construction and the specific curves you need to replicate.
Step 2: Choose the Appropriate Curved Ruler:
Select the curved ruler that best matches the curves you want to draw. Consider the size of the curves, the scale of your pattern, and the ruler’s compatibility with your chosen fabric.
Step 3: Position the Curved Ruler:
Place the curved ruler on the pattern paper or fabric, aligning the desired curve with the reference points or markings. Hold it firmly in place with one hand while leaving the other hand free for tracing.
Step 4: Trace the Curve:
Using a pencil or a fine-tipped marker, carefully trace along the edge of the curved ruler, maintaining even pressure and a smooth motion. Start from one reference point and continue tracing until you reach the other end of the curve.
Step 5: Repeat and Adjust:
For more complex designs, you may need to use multiple curved rulers or combine different curves to achieve the desired shape. Repeat the process as needed, ensuring a seamless transition between curves.
Conclusion:
Curved rulers are indispensable tools in pattern making, enabling designers to create well-fitted and visually appealing garments. By understanding the different types of curved rulers available and following the step-by-step guide


